
Way back in August 2010 I started working on a GW Realm of Battle gaming board plus the extension panels.
Naturally I couldn't resist changing it slightly. The main thing about the board I had to change was the skull pits. I hate them. Such stupid, pointless things that had to go.
So using a combination of a dremel and various saws I cut out the pits, I also removed as many other skulls I could find knocking around though I missed a few. I admit I nearly lost a finger or two in the process, the boards turned out to be quite tough. Once the holes had been cut out, cleaned up with a knife and various sandpapers they were filled in with styrene and GS.


The plan was to replace the skull pits with ponds.
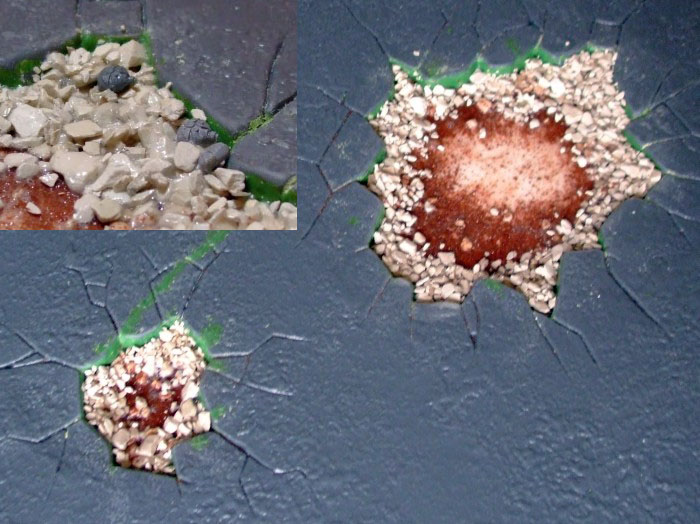
So the next step was to add rocks and sand. This was followed by some more interesting additions to give the board more character and give the ponds a bit more sinister feel.
 |
| Water canteens...seemingly abandoned in the process of being filled. |
 |
| A head. Not much I can add to that. |
 |
| And a floating body... |

The boards were sprayed black, couple of coats to get everything - not trickly with all that sand.
Pretty simple scheme, browns for the earth and greys for the rocks...Washes were used on the rocks and in the ponds some green wash was used as well.


Detail on the ponds:


 |
| I need to touch up his helmet. Do your own joke. |
To bring more colour to the panels some foliage was added.


At the same time as doing the RoB panels I also knocked out some of the GW hills, two modular and one stand alone one. I used the dremel again to remove skulls and also to modify the one set of modular hills so some details between the two were slightly different (not that you would really notice, but I would know...).
 |
| The standalone hill, before the foliage was added. |


'In the Near Future'
I have some holiday time coming up from work so the plans for the board are...
1. Add water effects to the ponds.
2. Paint the trees (will post WIP pictures soon)
3. Do the second board...
Yes, a second board. I picked up a complete set off ebay at the end of last year for about half price. Amazingly found someone selling one on eBay that lived less than ten minutes away thus avoiding the large postal cost.
So my plans are to heavily convert this second set.
First off the two flat panels will be turned into a river, done in the same way as the ponds above. One of the hill panels will become a waterfall, if I can get it to work, to join up with the river panels.
Another one or maybe two hill panels will be converted into a base entrance based on the FW RoB panel they had on sale at GD 2010 (but not seen of since).
The remaining panel I am undecided about at the moment. It may just be painted as a standard hill to give me more set up options.
Hey - awesome work. What specific colors did you use for painting the sand? This is exactly what I'm looking for doing with my terrain.
ReplyDeleteCheers.
ReplyDeleteI used 'Reeves' acrylic artists paint.
A heavy coat of 'raw umber' was applied as a drybrush over the black undercoat so that little black could be seen. Over that various heavy drybrushing of 'yellow ochre' and 'sand' were applied, the colours were mixed slightly so that the change in colours wasn't so stark.
Hope that helps.
It does -- did you apply mixed batches AND then the pure color ? Thanks
ReplyDeleteYeah, from what I can remember I would do say the raw umber coat, then a heavy drybrush of raw umber/yellow ochre, then yellow ochre, then yellow ochre/sand followed by sand.
DeleteIt have been a while since I did them though and my memory is hazy. The colours are definately correct (I still have the paints). I wish I could be more accurate - if for no other reason than I have more boards to do and I want them to match the first batch!
My best advice is just to paint one and experiment with the paint mixes. Once you have something you are happy with just undercoat the one board you experimented on then paint the whole lot in one go to keep them consistant.