Just a quick one tonight.
While I was mainly working on the Nurglings I did also get the last of the Dragons Teeth based...
Probably a bit over the top. Don't know if I will ever need anywhere near that many tank traps, in total they come to just under 1.5m in length.
In other news I am now offering the tank traps for sale at £4.50 for a set of nine cast in resin...
Have a look at the Sales & Commissions page shown above for details.
Showing posts with label Dragons Teeth. Show all posts
Wednesday, 10 October 2012
Sunday, 7 October 2012
Scatter Terrain 14
Dragons Teeth.
So I took all those cast 'teef and started basing them:
So far I have only used offcuts of finnboard to base them. Still got a fair few left so will probably do a couple more strips then call it a day on them.
Plasma Generator.
Well after Secret Weapon Miniatures put the Plasma Generator on sale I naturally bought some. They have now arrived so thought i'd put up some pics.
Overall pleased with them. I will be using some LGS to clean up some imperfections etc but I am looking forward to using them in some Zone Mortalis games. I will probably glue them together in pairs as i'll always use at least two together. I will keep the control panels separate however as I can use those either with the generators or on their own.
Above are very large close ups showing the surface texture of the two pieces.
Next up will be my usual monthly post, followed by the Nurglings which are taking a bit longer to do that expected. They are proving to be awkward little buggers.
So I took all those cast 'teef and started basing them:
So far I have only used offcuts of finnboard to base them. Still got a fair few left so will probably do a couple more strips then call it a day on them.
Plasma Generator.
Well after Secret Weapon Miniatures put the Plasma Generator on sale I naturally bought some. They have now arrived so thought i'd put up some pics.
Overall pleased with them. I will be using some LGS to clean up some imperfections etc but I am looking forward to using them in some Zone Mortalis games. I will probably glue them together in pairs as i'll always use at least two together. I will keep the control panels separate however as I can use those either with the generators or on their own.
Above are very large close ups showing the surface texture of the two pieces.
Next up will be my usual monthly post, followed by the Nurglings which are taking a bit longer to do that expected. They are proving to be awkward little buggers.
Sunday, 23 September 2012
Scatter Terrain 13
Just about there now with the Dragons Teeth tank traps.
I did a few more casts in plaster and this time added rebar by drilling out holes and fitting the rebar pieces in place. Casting the rebar in was just far to inaccurate.
In the end I had nine masters to work with, including the original 3D printed piece.
Once the mould (above) was done I got casting...
Some of them have bases which look a bit rough, this is because I want the heights to vary slightly and also have some slightly kinked over, to show that they weren't all installed perfect. Some will have sunk into the earth more, be out of skew and so on. Because of this I didn't fill the moulds completely for all of them and a few I carved off some material while the resin was only 90% cured.
I also cast a set in plaster (I actually finished off my plaster, need to order some more ASAP). Other than a couple of air bubbles they came out fine - even the one with rebar in, though you can't see that in the pic below.
Going to try and get some of these based and painted soon.
If people are interested I will also look into selling cast sets - let me know if you are interested.
I did a few more casts in plaster and this time added rebar by drilling out holes and fitting the rebar pieces in place. Casting the rebar in was just far to inaccurate.
In the end I had nine masters to work with, including the original 3D printed piece.
Once the mould (above) was done I got casting...
| Enough to begin with I think. |
Some of them have bases which look a bit rough, this is because I want the heights to vary slightly and also have some slightly kinked over, to show that they weren't all installed perfect. Some will have sunk into the earth more, be out of skew and so on. Because of this I didn't fill the moulds completely for all of them and a few I carved off some material while the resin was only 90% cured.
I also cast a set in plaster (I actually finished off my plaster, need to order some more ASAP). Other than a couple of air bubbles they came out fine - even the one with rebar in, though you can't see that in the pic below.
Going to try and get some of these based and painted soon.
If people are interested I will also look into selling cast sets - let me know if you are interested.
Monday, 3 September 2012
Realm of Battle Gaming Board 6 & Scatter Terrain 12
Well today was always going to be a non-Karrier one, after three days straight on it I needed a break.
Realm of Battle Gaming Board 6
This post though is a bit out of left field. Those who have been following Recalcitrant Daze long enough, or if you have joined recently but gone back through the posts, may remember the Realm of Battle Gaming Board I did. I painted up one set including the extension panels originally. This included replacing all the stupid skull pits with pools of water (which I still need to finish).
However I then picked up a second hand set off ebay. The plan was to modify these a bit more giving much more variety in set up.
The beginning of this was turning the two flat panels into river panels which I started last August.
I got fair way into this before I had to pack them away and get on with other things.
To catch up with what has been done so far CLICK HERE...
So anyway, I have been wanting to look at the boards again ever since then, while I can't spend too much time on them now I did spend sometime today getting them out and planning a few things, namely what to do with the remaining four boards - i.e. the ones with hills on.
First thing I did was have a quick look over the river panels. I decided to give them a quick coat of spray to get rid of the confusion of colours from plastic, GS and Milliput. It helps bring everything together and better shows up gaps and rough areas.
To expand the river I plan to take this hill panel and carve into it a river, with some sort of 'waterfall' cascading down
Not brilliantly clear in the pictures but you can just about make out the course of the river roughly marked on the panel.
So that is one hill panel lined up for conversion, but what about the others I hear you ask...
Well the next plan is to expand one of the hills to allow me to have a longer hill set up...
So the hill on the panel shown above will be increased so the panel can fit between two other hill panels as shown. The one skull pit will becovered with the other one becoming a pool as per the earlier boards.
The shape of the hill is roughly marked on, but this is really just to explain what I am planning - I will design the shape properly as I build it.
The three boards lined up together (bit of an awkward picture I know, should of got one at a better angle).
To make the enlarged hill I will be using some of the foam I have knocking around.
As you can see the heights match up.
I may do the same to another hill, one of the larger ones. I have plenty of foam for the job so I might as well...
Scatter Terrain 12
I gave the Dragons Teeth a coat of grey primer to better show the detail up and to allow me to pick which ones I use.
Annoyingly in these two the rebar still doesn't show up well.
This first one is definately not being picked. The rebar positions are all off:
This one is better (though in the pic looks crap):
As these two are far from perfect I have decided to cast two more without rebar, I will then add the damage like above, i'll then drill holes into the top and insert the rebar, should give me a much better result I think (I hope).
The other six will be considered, though I am going to wait till I redo the two above before picking any to cast.
The two with rebar cast in look decent - though bottom left the rebar is off so again I might redo that one to see if it can be better.
I think that is all for now...
Realm of Battle Gaming Board 6
This post though is a bit out of left field. Those who have been following Recalcitrant Daze long enough, or if you have joined recently but gone back through the posts, may remember the Realm of Battle Gaming Board I did. I painted up one set including the extension panels originally. This included replacing all the stupid skull pits with pools of water (which I still need to finish).
However I then picked up a second hand set off ebay. The plan was to modify these a bit more giving much more variety in set up.
The beginning of this was turning the two flat panels into river panels which I started last August.
I got fair way into this before I had to pack them away and get on with other things.
To catch up with what has been done so far CLICK HERE...
So anyway, I have been wanting to look at the boards again ever since then, while I can't spend too much time on them now I did spend sometime today getting them out and planning a few things, namely what to do with the remaining four boards - i.e. the ones with hills on.
First thing I did was have a quick look over the river panels. I decided to give them a quick coat of spray to get rid of the confusion of colours from plastic, GS and Milliput. It helps bring everything together and better shows up gaps and rough areas.
| Straigt River Panel |
| Bendy River Panel |
To expand the river I plan to take this hill panel and carve into it a river, with some sort of 'waterfall' cascading down
Not brilliantly clear in the pictures but you can just about make out the course of the river roughly marked on the panel.
So that is one hill panel lined up for conversion, but what about the others I hear you ask...
Well the next plan is to expand one of the hills to allow me to have a longer hill set up...
So the hill on the panel shown above will be increased so the panel can fit between two other hill panels as shown. The one skull pit will becovered with the other one becoming a pool as per the earlier boards.
The shape of the hill is roughly marked on, but this is really just to explain what I am planning - I will design the shape properly as I build it.
The three boards lined up together (bit of an awkward picture I know, should of got one at a better angle).
To make the enlarged hill I will be using some of the foam I have knocking around.
As you can see the heights match up.
I may do the same to another hill, one of the larger ones. I have plenty of foam for the job so I might as well...
Scatter Terrain 12
I gave the Dragons Teeth a coat of grey primer to better show the detail up and to allow me to pick which ones I use.
Annoyingly in these two the rebar still doesn't show up well.
This first one is definately not being picked. The rebar positions are all off:
This one is better (though in the pic looks crap):
As these two are far from perfect I have decided to cast two more without rebar, I will then add the damage like above, i'll then drill holes into the top and insert the rebar, should give me a much better result I think (I hope).
The other six will be considered, though I am going to wait till I redo the two above before picking any to cast.
The two with rebar cast in look decent - though bottom left the rebar is off so again I might redo that one to see if it can be better.
I think that is all for now...
Labels:
Dragons Teeth,
Realm of Battle,
Scatter Terrain,
Terrain
Saturday, 25 August 2012
Scatter Terrain 11
Slowly getting back into things post holiday...
I cast up some rebar and then some more Dragons Teeth tank traps in plaster before carving damage into them.
The plan is to use some of these as masters for more casting. I'll pick five or six and do a new mould including the original master, i'll then use this mould to quickly cast multiple sets of tank traps.
Pictures are naff, you can't make out the rebar in some of them.
I'll leave them for a few days to fully dry then give them a coat of grey primer. Once it is a bit more clearer i'll clean up the ones I prefer and do the mould.
The primed versions should be a lot clearer (I hope).
Back on the Karrier tomorrow...
I cast up some rebar and then some more Dragons Teeth tank traps in plaster before carving damage into them.
The plan is to use some of these as masters for more casting. I'll pick five or six and do a new mould including the original master, i'll then use this mould to quickly cast multiple sets of tank traps.
Pictures are naff, you can't make out the rebar in some of them.
I'll leave them for a few days to fully dry then give them a coat of grey primer. Once it is a bit more clearer i'll clean up the ones I prefer and do the mould.
The primed versions should be a lot clearer (I hope).
Back on the Karrier tomorrow...
Monday, 23 July 2012
Gun Emplacement Mk.II 8 & Scatter Terrain 10
A brief hiatus from the Karrier to work on a couple of my own ongoing projects.
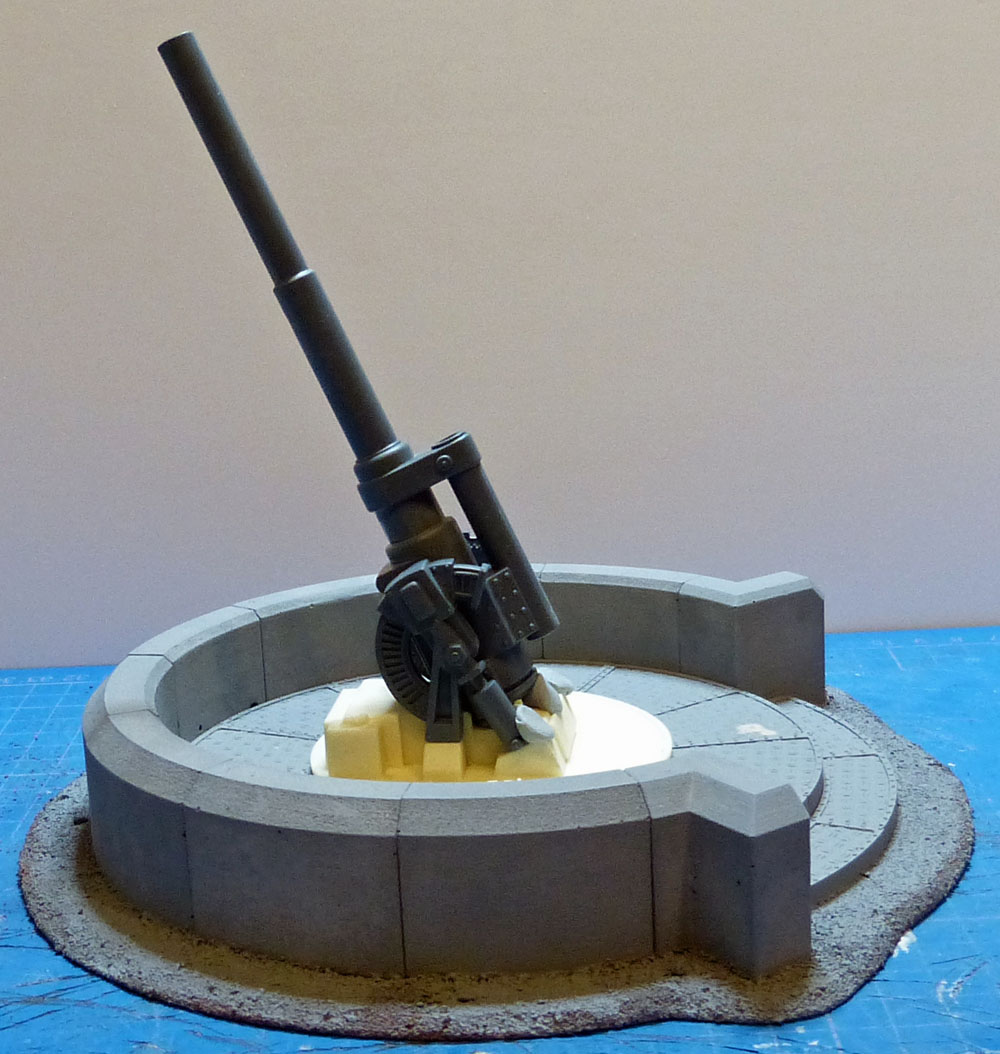
Gun Emplacement Mk. II 8
After many hours sanding, filling, spraying, filling, sanding etc the modified gun mounting plate was ready for casting.
I removed the plate I had previously added to the gun mounting plate so that the area where the crew raise and lower the gun was free of trip hazards (health & safety...), the hole underneath along with the circular hole at the rear had then to be filled and sanded flat (too ages and many goings over). The modified Basilisk plate was then added before going round filling in, sanding and so on...
Anyway. I did a mould and knocked out some casts...
I drilled out the two holes where the Earthshaker pieces fit into and assembled the Earthshaker. Blu-tac only for now:
And then in the fully raised position...
Sort of tempted to actually paint it...long shot but it may happen.
Next up...
Scatter Terrain 10
The Dragons Toof got a mould done and I knocked a few casts out.
I did a few in plaster and a few in resin to see the difference in them.
Rather than just take some pictures of some casts I based four of them (two plaster and two resin) and added some sand. Keep in mind this was a very quick and rough basing job, just wanted to see how the parts looked in context.
Shock, horror I actually painted them - again just a quick and rough job.
I went with a brass top plate just to highlight them, I doubt I would go with brass eventually.
The plan is to do a few casts in resin incorporating rebar, i'll carve them up and add damage etc before using them as master for a set of moulds.
Quite pleased how they turned out, was a bit worried if the skulls would show up well enough originally but they show up easily without being too in your face.
Gun Emplacement Mk. II 8
After many hours sanding, filling, spraying, filling, sanding etc the modified gun mounting plate was ready for casting.
I removed the plate I had previously added to the gun mounting plate so that the area where the crew raise and lower the gun was free of trip hazards (health & safety...), the hole underneath along with the circular hole at the rear had then to be filled and sanded flat (too ages and many goings over). The modified Basilisk plate was then added before going round filling in, sanding and so on...
Anyway. I did a mould and knocked out some casts...
| The first perfect cast. |
| As you can see two of the three had an imperfection on the edge. Bloody annoying. |
I drilled out the two holes where the Earthshaker pieces fit into and assembled the Earthshaker. Blu-tac only for now:
And then in the fully raised position...
| 'Bang Bang' said Militiaman Bob as he smugly looked over the wall. |
Sort of tempted to actually paint it...long shot but it may happen.
Next up...
Scatter Terrain 10
The Dragons Toof got a mould done and I knocked a few casts out.
I did a few in plaster and a few in resin to see the difference in them.
Rather than just take some pictures of some casts I based four of them (two plaster and two resin) and added some sand. Keep in mind this was a very quick and rough basing job, just wanted to see how the parts looked in context.
| Militiaman Bob gets around. |
| Undercoated you can't tell the difference between the two materials. |
Shock, horror I actually painted them - again just a quick and rough job.
I went with a brass top plate just to highlight them, I doubt I would go with brass eventually.
The plan is to do a few casts in resin incorporating rebar, i'll carve them up and add damage etc before using them as master for a set of moulds.
Quite pleased how they turned out, was a bit worried if the skulls would show up well enough originally but they show up easily without being too in your face.
Labels:
3D Modelling,
3D Printing,
CRM,
Dragons Teeth,
Emplacement,
Scatter Terrain,
Terrain
Wednesday, 18 April 2012
Scatter Terrain - 4
Just a quick update tonight on the 3D models for both the Dragons Teeth and the Pallets.
I've got nothing else done for a couple of days (due to either having a headache or I couldn't be arsed to do anything) so this update will just consist of rendered images from my computer.
First up Dragons Teeth.
I modified the model by raising the skull till it was centred on the arch top.
My preference is the new version. In comparison I find the skull looks odd 'floating' in the middle of nowhere on the original version. I think the design is now pretty much set, I don't think I will be modifying it or adding anything else to it.
Second up are the Pallets
I felt the tops were still lacking and rather plain. I increased the number of holes to start and then added a treadplate pattern. The treadplate gives them a much better texture and will look far more interesting, especially those which won't have stores on them.
Realised I hadn't really shown the two pallets together, so here are a couple of shots showing how they compare in size.
Hopefully my next update will be on the Grot Tanks. While I haven't done much for two days I did get them undercoated so I should be starting the actual painting process soon.
I've got nothing else done for a couple of days (due to either having a headache or I couldn't be arsed to do anything) so this update will just consist of rendered images from my computer.
First up Dragons Teeth.
I modified the model by raising the skull till it was centred on the arch top.
![]() |
| The revised model on the left, the original version on the right. |
Second up are the Pallets
I felt the tops were still lacking and rather plain. I increased the number of holes to start and then added a treadplate pattern. The treadplate gives them a much better texture and will look far more interesting, especially those which won't have stores on them.
![]() |
| The top plate for the larger pallet. |
![]() |
| Large pallet assembled. |
![]() |
| Top plate for the smaller pallet. |
![]() |
| And the assembled smaller pallet. |
Realised I hadn't really shown the two pallets together, so here are a couple of shots showing how they compare in size.
Hopefully my next update will be on the Grot Tanks. While I haven't done much for two days I did get them undercoated so I should be starting the actual painting process soon.
Labels:
3D Modelling,
3D Printing,
Dragons Teeth,
Scatter Terrain,
Terrain
Subscribe to:
Posts (Atom)