Pages

Friday 29 June 2012

Ork Dread Mob 11

A bit more work has been done on Numnuts, my third Deff Dread.

He is basically now done, however I tried out fixing the upper arms a different way - Using purely magnets and no pins. I was a bit worried the magnets wouldn't be able to take the weight of the upper arms but the arms are held far better than on the first two dreads, which does mean I now need to change the first two.

The only thing left to do is do the magnets on the lower arms - unfortunately I don't have any of the correct size. For now they are blu tac'd in position. I will order some magnets tonight.

Numnuts, a dread who is just after somebody to hug.


Pics aren't great I admit. Hopefully won't be too long before I have the magnets and I can get better pictures with the lower arms attached.

I replaced the cables to the upper arms and added various plates, dags etc just so each dread has arms which are a bit more individualistic.

Here is the magnet in place inside the arm socket. Wish I had done this originally with the first two dreads rather than all the time I spent with brass rod and smaller magnets.


Will probably work on the other two dreads upper arms tomorrow, but no update for that as it will be a bit boring. Once I have the new magnets and all the arms are in place i'll do a few pics of all three Dreads.

Wednesday 27 June 2012

Ork Kopta Karrier 1

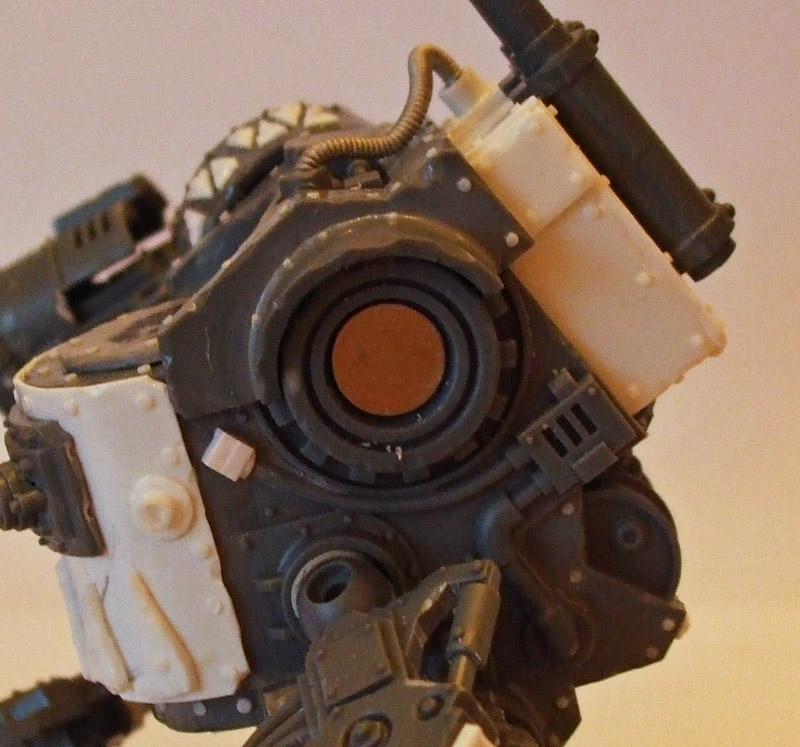
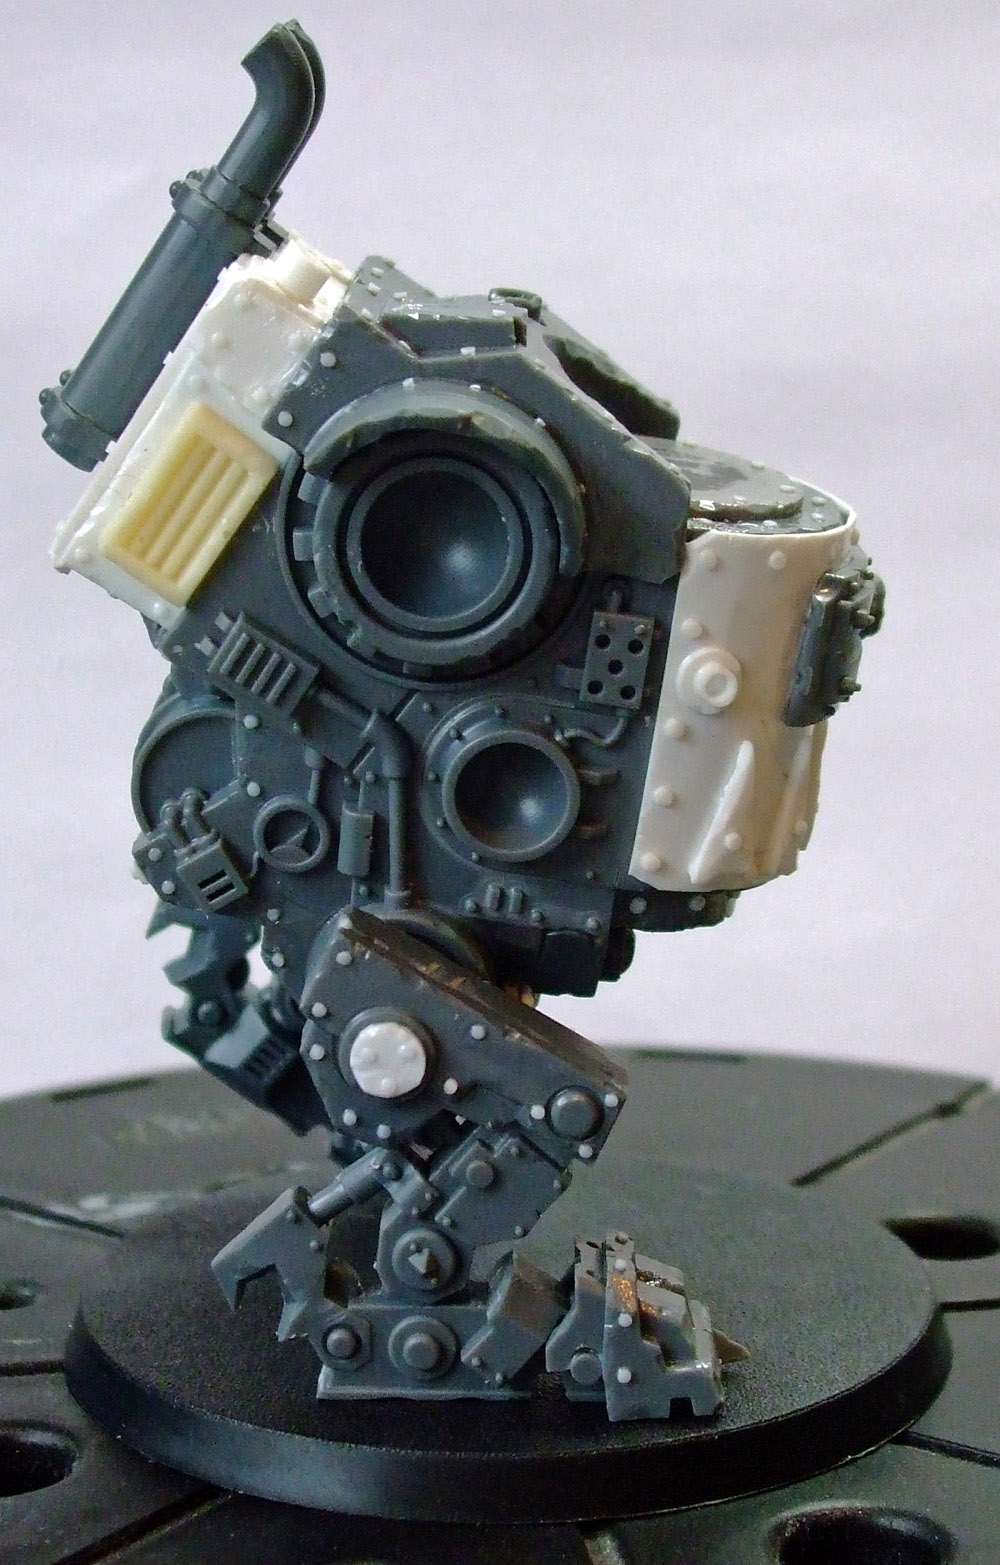
The saying goes that 'size doesn't matter'. Women and Orks have many things in common, one of these is believing that statement to be wrong.

So this week I have been busy with a number of things. One thing which has been taking up my time was casting gun emplacements, however there was one other thing which is more interesting.

You may remember I built some Looted Wagons as a commission not that long ago, well the fine gentleman who had those has given me a commission for another vehicle. Just the one this time, but it is a bit bigger.

After a couple of days messing around with foamboard I have a mock up which has been given the go ahead to be turned into the proper thing.

As usual I will be documenting the build on here, and to start off here are some shots of the mock up and a bit of text to explain everything...


Please welcome what I am currently referring to as the Ork Kopta Karrier (or the OKK for short).
Yes, that is an Ork Boy acting as a Barry for scale.


It is big. Over 400mm long.


Fully laden it could fit nine or ten Deff Koptas.


The superstructure will mount at the front a Deff Arsenal (not yet sure how I am going to do that), couple of AA turrets on top and at the rear a large KFF. The central building will not be a single, slab sided structure, btu multi layered and much more Orky looking. There will also be walkways around the outside allowing the boyz to have a look out and take pot shots at people.


The superstructure from the other side. Boyz door at the bottom and the Nobz door up some staris to their more roomy level. The Meks shed at the end mounts the KFF andis close to the large fuel drum where the Grots have the job of refueling the Koptas.


The Baneblade sponsons will be elongated to run the whole length and mounting a Mobs worth of weaponry. Supports from the under deck structure will run under the decking.


The front will have a drivers cab and a couple of large weapons. Cab will be built out and lower to the ground while the weapons will be mounted in turrets.


At the rear we will have exhausts - as displayed in the pic..., and various other engine gubbins.


Once the Koptas have all taken off the Rokkit launcha can open up. There will be four or more rokkits mounted in launch tubes.

The Baneblade all this will be built on will be lengthened by 80mm and widened by 30-40mm.

One final picture to show the scale...

Yes, that is a Shadowsword hull

It is going to be a big job and will be spread over a fair amount of time. I will continue to do many other projects at the same time but this will be plugging along continuously for a while.

The Baneblade is on order and a large order of styrene will be placed this evening.

So keep watching...

Saturday 23 June 2012

Terrain Pillars - First Cast and Moulds Available

As previously discussed I set abotu doing a Mk. II Pillar. The Mk. I was used to try out the Zone Mortalis rule set.

Mk. II is an improved design. I was able to do the first couple of casts today and the end result is a much easier casting process and a higher quality of cast.

The Mk. II Pillar Master

Comparison shot of the Mk II and Mk. I casts.
The difference in quality is easily shown.
As I cast two pillars I was able to slot some walls and doos in place to see how things fit together:

Walls in slotted into the outer grooves

Militiaman Bob showing the height of the pillars (70mm)

A door slotted into the central groove

So the design is much improved, so much simpler to cast than the orginal. I didn't use any form of vibrating table or other casting aid and I still only got a few small air bubbles. (Note: the two casts shown have not had their bases cleaned up, hence the rough looking edges).

The pillars are still meant more as a means to allow a quick, easy and relatively cheap modular board to be built. Unlik the Mk. I design though these have a much nicer finish so have a more permanent role, the former design was more obviously a stop gap to a permanent board being built.

Here is a shot taken from the test games I played of Zone Mortalis to show the idea of the pillars being used to put together boards:


Now to be able to put together a full board something in the region of 30-50 pillars are needed depending on the size of the board and the balance between rooms and corridors you use. The cost of plaster (approx £25 for 10kg) means that even with that many casts and the cost of the mould(s) themselves a board can be assembled within a reasonable amount.

The walls are made from 1mm card while the doors are 3mm Finnboard. The grooves in the pillars are .5mm over this size, so there is some leeway to the size you use.

So are you interested in purchasing one or two moulds?

The moulds weigh in the region of 400g which is a fair amount of rubber. This combined with the amount of time it takes to do the moulds I have decided on a price of £30 for one mould, or £55 for two moulds.

I will do a test cast with each mould to ensure the mould is ok. If there is a problem which means the casts are unusable (e.g. an air bubble here and there in the mould will be passed as ok) it will be scrapped and a new mould done in its place.

I recommend having two as it will dramatically speed up casting time, but if you have time to play with one will obviously do.

So to summarise:

£30 for one pillar mould + postage at cost.
£55 for two pillar moulds + postage at cost.

Time wise I will be doing any moulds to order, as such it will take a few days as a minimum before postage as each mould must be left 24 hours before the master can be removed. Also as each mould uses a fair amount of rubber I cannot gaurantee I will have enough at any particular time to do an order so an additional week may be required for new rubber to arrive.

If you are interested drop me an email...

rictusrd-blog (at) yahoo (dot) co (dot) uk

Monday 18 June 2012

Recalcitrant Daze - ZM Pillars and Gun Turrets 4

Moulds for Pillars on the way...

When I originally did the pillars to try out Zone Mortalis I had a few people ask me if they could have some to do the same thing. The original master was a very quick build and was destroyed during the moulding process (i.e. I had to break it up to get it out of the mould) which left me with a single mould. There was no way I was going to cast pillars for people as it would of taken weeks to knock enough out.

However I was recently asked again for pillars so I decided to make a new master, one I could use to do multiple moulds. I still won't be casting pillars for people, however I will sell the moulds themselves allowing people to cast as many pillars as they like in plaster.

So here is the new master.


The new design is the same as the first in principal - namely two outer grooves (1.5mm wide) for card walls to be slotted into and a central groove (3.5mm) for a door to be slotted in.

However the new design will use less rubber for the mould and less plaster in the casting. It should also provide a much easier casting experience as the original mould is very awkward and results in lots of air bubbles due to the thin walls which make the grooves for the card to slot into.

It is still plain and simple and I am not going to town making it perfect - it is still intended as a quick, cheap and modular way to try out Zone Mortalis or similar games set inside buildings/tunner sytems/space craft etc.

Like the Mk. I version the pillars are 70mm tall.

Some walls and a door slotted in place.

Gun Turrets.

Recently I asked if people would be interested in buying gun turrets if I built a new one. Well I think I had enough interested via the blog and forums to go ahead and at least do a new master.

So I got out the original master and it's current state is now...


I needed the lego to act as the internal structure of the new model. However it will be slightly smaller (the original was a touch too big) for easier set up. I was not happy with many aspects of the original design so this will be a good opportuniy to do a much better model.

While I would like to get the gun turret done ASAP I have a lot on my plate at the moment (some of which will come out in the near future) so I think it will be a slow build over the next few weeks.

Sunday 17 June 2012

Ork Dread Mob 10

Just a mini update today in what appears to be my 'double Nelson post'*.

The bottom two arms are now done. I decided to cannibalise two Nob Power Klaws so that this dread would have some different weapons to the other two. I liked the look of having a pair of them for the lower arms, the fact the power klaws are smaller compared to some Dread weapons fit the smaller lower arms ok I feel.

Numnuts lost his job as a teaching assistant due to being 'too grabby'


I still need to add the pins/magnets to allow the arms to be removeable. That can wait till the upper arms have been built.


Here ends the mini update. Update tomorrow, but it might not be dread based...


* Those who do not follow cricket are unlikely to get what that means.

Saturday 16 June 2012

Ork Dread Mob 9

A proper update for today involving actual models...

As seen previously sneaking into the Monthly Post I am working on another Ork Dread.

I shall name him Numnuts.

The body is now done with only the four arms left to do, oh and the base (he isn't glued to the base).


Decided to use a couple of Baneblade eshausts on this one. Not a huge amount of conversion work, mainly replacing some rivets, distressing all the edges, adding styrene plating and of course replacing the engine block.

Friday 15 June 2012

Gun Turrets 3 - Is there interest out there for these?

Way back when this blog was young I showed a Gun Turret I had built and cast so I could use up some of the many spare Russ and Chimera turrets I had knocking around.

After selling a number of the gun emplacement sets I got thinking if people would be interested in gun turrets.

If there was enough interest I would do a new master for casting, similar design to the original one I built but better detailed.

For a recap this is what the first gun turret looked like:

The original master.

One of the cast turrets after the post cast details were added along with battle damage and basing:


The rear is an area which would see a big improvement.

Scale shot and an example of a turret in place
To see more of the original turret click here.

So what are peoples thoughts? Is it worth doing a new gun turret and is there enough demand to warrant doing it?

Tuesday 12 June 2012

Recalcitrant Daze...i've not taken a vow of silence.

I know it has been a bit silent round here of late but I have been busy, ish.

Most of my time has been taken up casting gun emplacements. Today I posted two kits to the Netherlands and I have these three kits...

I forgot to include the walls in the picture.

...ready to be packed and posted to Australia.

Unfortunately all the time spent casting has sapped my enthusiasm for doing anything else. However I had a few bits turn up today and I had the urge to start building something. So I made a start on my third Deff Dread. As with the other two it can't be built straight out of the box, i'll be modifying it to make it a bit more individual as well as replacing most of the rivets and distressing the plating to match my own Ork builds.

Very early WIP...
I did say I had a few bits turn up today, in addition to the Deff Dread this pair arrived...


Looks like a very nice kit, lots of gubbins. I will be using many of the parts on my Looted Marauder, when I finally get round to it. I will probably field the planes using the FW Fighta Bomma rules as I refuse to pay for a WD to get the new rule set. Besides I want my fliers to be actual fliers, not 'skimmers', as such i'll be using them in Apoc only.

Normal service will hopefully be resumed shortly.

Friday 8 June 2012

Recalcitrant Daze - Month 14. Barter, BoLS and Blogs.


Well here we are again. Don’t the months seem to slip by almost unnoticed?

So what does this months offering bring us?

Well I just ate a banana that was completely straight, no hint of a curve. Unsurprisingly it wasn’t very nice. Straight banana = not natural.


New Blog Page:

In other news I bring you a new page on Recalcitrant Daze. The tab above (if everything is working correctly) will take you to the new Items for Sale and Commissions' page. I thought rather than have things like that spread out amongst the posts on RD it would be best to have all the information gathered together in one place.

Talking of things for sale today I posted the first two gun emplacements which had been bought. They are now on their way to Australia where I hope they find a good home pounding their enemies into dirt.


Bell of Lost Souls:

My latest article for BoLS went up last night. I did a follow up to my previous article regarding 3D printing. The first article reference the gun emplacement I wanted to do so I thought it would be a good time to follow it up and show the new prints and the gun emplacement assembled.

If you want a read the article can be found here.


New Blogs:

New as in (relatively) new to me anyway.

It has been a while since I linked to any new blogs I had started following so I thought I would put a few up tonight.

Gaze of Mork - A nice blog showing some inventive Ork builds for both 40k, Epic and BFG. Well worth a perusal.

Sproket's Small World - If you like gorgeous paint jobs go here.

A Gentleman's Ones - Great place with a nice mix of models and some excellent terrain.


What is to come next month?

Well I plan to start ordering more 3D prints (for the drums, crates etc), do some more casting, start building some Carcharodons (one or two at least), get back to finish the Grot Tanks and I may have an Orky commission to look at

Saturday 2 June 2012

Gun Emplacement Mk II - 7

Emplacement Kits for Sale...

Good morning.

After showing the emplacement in a few places I had enough people ask me if I was selling kits to actually offer it for sale.

By doing extra moulds I can knock out a full set of casts in an evening in plaster for the walls and resin for the base, steps and gun mounting plate...


So we have eight curved wall pieces, two end wall pieces, 12 base pieces, 3 step pieces and the gun mounting plate. I will cast into one wall piece some rebar in case people want to add damage and have it showing.

I am going to offer the kits for £25 plus postage (at cost) for one or £45 plus postage for two kits.

As before if you are interested drop me an email... rictusrd-blog at yahoo dot co dot uk

EDIT: Got email address wrong....cheers Oink.


Using the pieces shown above, which I cast to determine how quick I could knock out a set, I was able to put together the second gun emplacement


The plan was to add some more details to the gun emplacements. First up I knocked up a shell case. I did the master, the mould and the first casts before I realised I actually had an Earthshaker shell with the Militia artillery crew set. Thankfully the sizes match up ok.


I then looked at the crank handle mechanism to turn the gun mounting plate.


I realised I had made  a mistake on the gun mounting plate by putting the recess - which I intended to use to locate the mechanism, was on the wrong wise. On the right it would block access to the gun raising handle. As such it will have to go on the right.

Due to this I will modify the gun mounting plate master to get rid of the recess and do a new mould.