
At the weekend I took apart the Poisoned Chalice board. After its swansong at the Open Bash at Warhammer World the week before it was time to break it down so it can be stored untill I can re-use the materials.
So it seemed appropriate for the next catch up post to be of the board. I will end up splitting this into 2 or 3 posts as there are so many pictures.

So I'll begin with building the board pieces, move onto painting them then finish off with showing the extra pieces I built for it.
The basic idea for the board was to have a buried Necron ship, orientated so that the tip of one wing coming out of the ground. This tip has been encased in rock as part of a 'someone-made cliff'. The very top of the wing has become exposed, a Rogue Trader hearing rumours came to investigate, excavating part of the cliff face to ascertain what was buried, once that was done he set about digging a shaft down to the ships likely centre to see what he could claim.
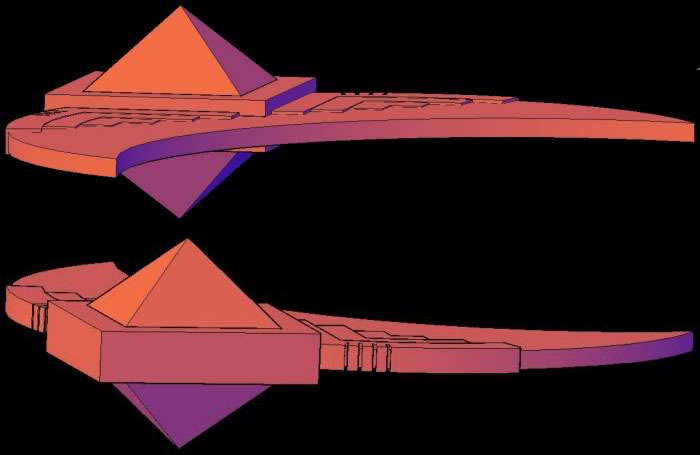 |
| The design I came up with for the buried ship, even though only a small part of it would be shown I wanted to get the overall look and shape sorted in my head. |
 |
| The basic wing tip in styrene, Militiaman Bob for scale |
 |
| Adding the detail, layering up styrene, notches added and Necron glyph panels which really added a lot to the look. |
 |
| Few more details giving the whole thing more depth. |
 |
| The wing slotted in place - the red area was where the excavated area was to be. |
 |
| More foam added around the wing. Foam was shaped so that this panel would butt up against a GW RoB panel. |
 |
| The excavated area showing the wing detail. |
I than started adding both filler to the foam, filling in gaps etc. I also began adding the rubble piles where the excavated rock had been shoved aside (by an Atlas) from the excavated area. The excavation pit with the mine shaft was also carved into the foam, crossing over both panels. I did the whole thing in two panels for ease of transport.
 |
| Detail inset showing a discarded tool. |
 |
| The first two rubble piles and the beginning of the mine shaft (better shown below) |
 |
| Some unused Demo charges. |
 |
| At the rear steps were carved in to show where the planets 'primitives' had come to worship the marvel of 'the tip...'. Also meant in games people could access the whole gaming area and use the height. |
 |
| The rubble pile next to the excavation pit which crosses the two panels. |
 |
| The excavation pit, modelled to show (hopefully) a concrete layer laid down on the two flat areas next to the Hades ramp. Fencing and wooden panneling added round the pit and down the ramp sides. |

 |
| These two pics show the texture added to the panels, I wanted a dug up well worn look created by the engineering vehicles driving all over it. |
 |
| The ramp created by the Atlas with a dozer blade, giving access to the excavated area of the wing. |
 |
| You can see a lot more foam was added and plenty of filler. The mountain was given a coat of primer to show up areas which needed work. This was followed by tissue paper layered on with a mix of PVA and thin filler. It gave a nice texture and protected the foam well (really well). |
Next up i'll show these panels painted up. That will show the texture on the rock much better than the pic above.
Great stuff as always!
ReplyDeleteAwesome terrain feature mate. I love the detail you built into the lower section of the wing and the excavation area. Top stuff!
ReplyDeleteThat is phenomenal!
ReplyDeleteAbsolutely stunning! That is a lot of work, and it turned out amazing.
ReplyDeleteCheers for the comments everyone.
ReplyDeleteI should be getting the next part of this up shortly so keep your eyes open for it...