
It's been out of production for a while which is a shame and it meant I had to pay though the nose for it now...
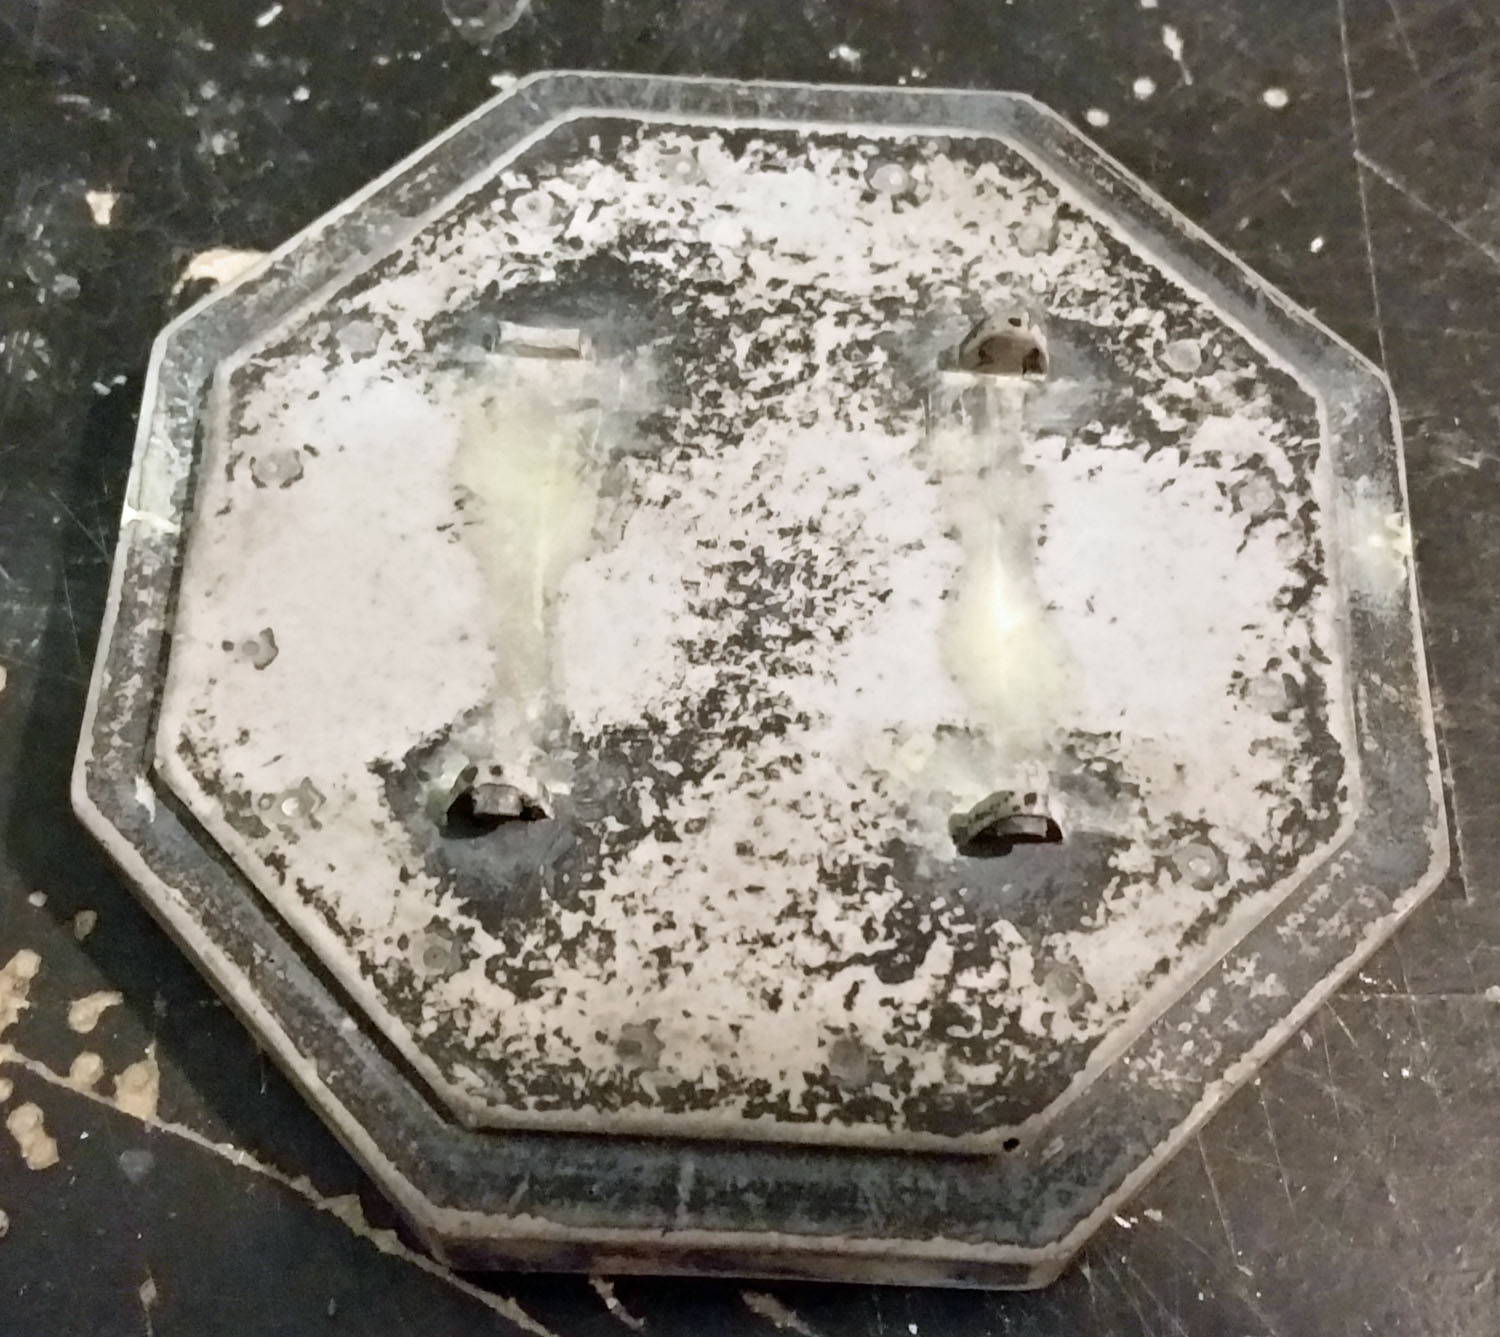
This is how it arrived:


Overall in decent condition. Some air bubbles from the casting and some rough areas which need cleaning up.
My plan is this, remove the sand bags, remove the bits and bobs on the inside, fill in any sculpted battle damage, fill in air bubbles, re-detail roof, interior and exterior and finally do a couple of moulds and cast enough to fill a battlefield.
Much resin dust was created in working on this bunker...
First off the sand bags were sawn off and the bits on the inside removed.

I then cut a 7mm deep groove around the base of the bunker, 3mm was then taken off the bottom of the bunker. The reason for this is to be able to sit the bunker into a shape cut into the MDF base I will be using. I can also do the same with a Realm of Battle board if I ever get round to doing a seige/trench gaming board.

Moving onto the dremel removed the rest of the sand bags remains and clean up a few other areas. Lots of sanding followed.


The ammo box was removed from the inside. Filling started with Milliput and lots more sanding.


Onto the roof the big rivets were removed and the lifting bars cut out and the top filled and sanded. Likewise all around the top milliput and sanding was used to smooth everything over and fill gaps/battle damage.
The reason I removed the bars was so that I can cast the roof then drill out the end pieces and put some rod down the hole. The big rivets will be replaced with some ball bearings put into drilled holes.
The underside of the roof was also cleaned up, filled and sanded.

Since then I have done more filling and sanding, including to the top of the bunker walls to give a better join between the roof and wall tops.
Next step will be to add some lugs to the roof so that it can locate into holes in the wall tops.
After that the detailing will be done. This (at the moment) includes:
Internal lights,
Armour plates at the front,
Comms unit,
Rear door.
Other things may get added as I think of them.
Been a while since I have done that sort of work, not entirely sure how it will turn out.
At this point I'm starting to think it might have been easier to make it from scratch!
ReplyDeleteWell when I said to a certain somebody 'I may have well built my own version instead of converting' the certain somebody replied 'but that wouldn't have been as cool'.
DeleteWow, this is some very determined conversion work! Looking good!
ReplyDeleteCheers.
DeleteSo you are scratch building a bunker using a forgeworld one as a base. :)
ReplyDeletePretty much sums it up...
DeleteDon't agree with Sheep, it makes him feel important...
ReplyDeleteUsing a FW model as a base has a number of advantages, hard to say overall which way would have been better but once you start sawing that resin you just have to keep going...